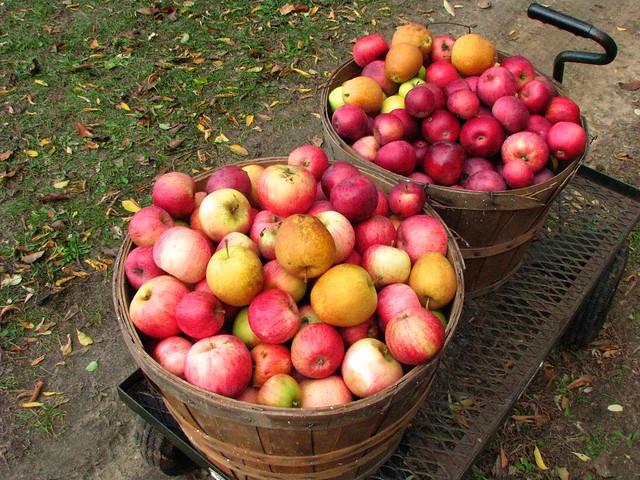
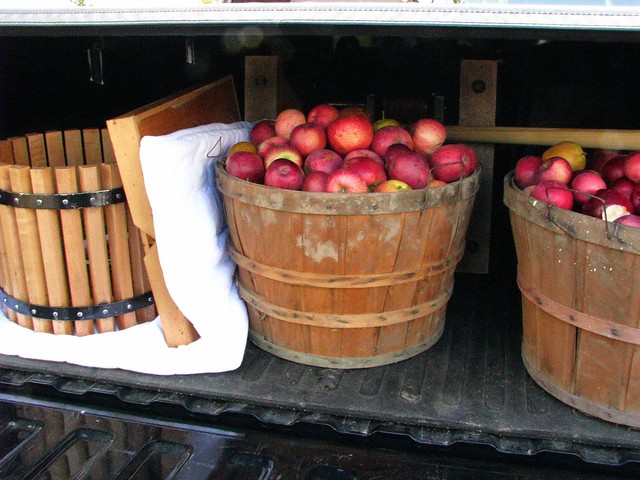
Last Thursday, my Parents, Kiddo and I went to Weston's Antique Apple Orchard. I have been buying apples from them at the West Allis Farmer's Market for several years; they have been a vendor there for 45 seasons. I never thought of looking to see if they had a website until I learned that I inherited my Gram's apple press, and I needed a good urban source for great apples. I called and spoke with a older man, who informed me good-natured-ly that I'd interrupted his nap, "Since I'm retired!" he'd said. I told him it was our first year with a press, and we just wanted to do a couple of bushels of apples to see about approximate yield and ease of the workload. We negotiated a price for windfalls, and I figured that any price would be worth seeing the land where some of the most exotic apples I've ever tasted have grown for generations.
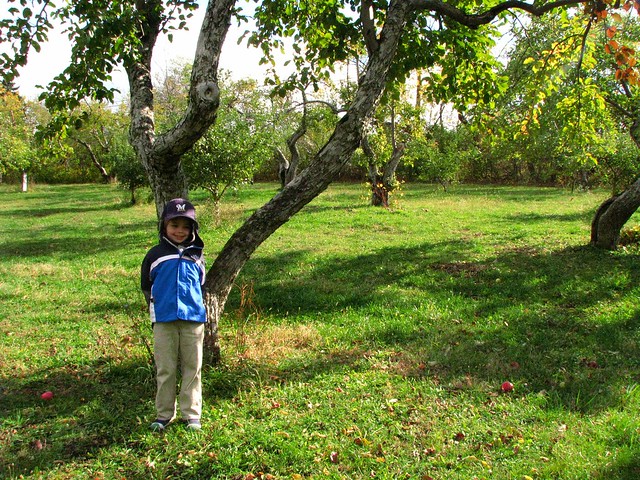
Even though I'd called back the cell phone number he gave me, I wasn't entirely certain that we would find anyone at this antique orchard when we drove out in my Dad's truck on Thursday. But fortunately we found a sole worker: a middle-aged man in heavily patched pants and a lifting belt who had been debriefed about me and my desire for 2 bushels of apples. A talkative man, he explained that the orchard's brother and sister team worked 7 days a week with just a few helpers like him. He mentioned they were both notoriously difficult to get a hold of, and that we could pay him and then just walk around in the orchard and see which trees had fresh fallen apples. "If you wonder what they taste like, just find one on the tree, shine it up on your shirt, and try one," he reminded us. And we did. Some hard, yellow and tart, leather skinned and bursting with autumnal dryness, others as sweet as honey, plum colored and snowy white inside - the apples the witch likely offered the gullible Snow White.
We spent a hour or so wandering around collecting the bounty of fruits under some trees that seemed perfectly perfect, reminding my Kiddo to show us each apple before tossing it in the bushel basket in case it was buggy or bruised. I had wished the whole while I hadn't already done my applesauce with budget (but perfectly serviceable) apples from the farmer's market. My Mom was more excited that I was, we tried many types and each one distinct and almost unreal. Antique apples are the way to go. If you have a few minutes, just read about some of the unusual varieties that are grown at Weston's Orchard.
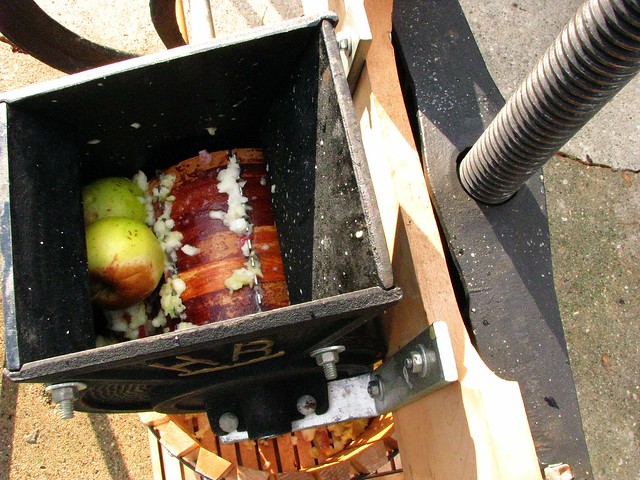
My Dad had brought baskets for us to use, those mysterious things that never seem to wear out and have appeared from nowhere. My Parents have all sorts of gardening baskets like that, old wired things with history that just seem immortal. The press was really something too. My Gram had an apple tree in her yard that was extremely prolific most years. We never knew which variety it was, but it was on the tart side and made the best sauce. There was always enough fruit for anyone who wanted any. She hadn't had the press for that many years, but my Dad cleaned it up thoroughly and carted it down here just so we could try this experiment that none of us expected to be so life changing.
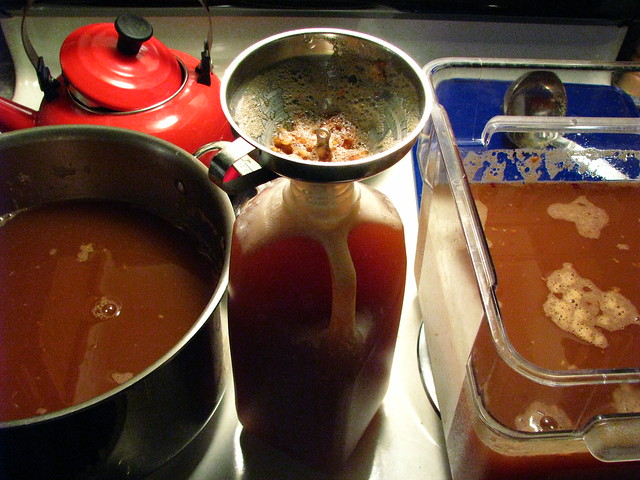
In less than an hour, we had pressed our 2 bushels (less the amount my Mom took home for pies, and a couple of pounds that she left me for eating). My Mom washed each apple in the kitchen sink, her nurse's credo preventing her from just hosing them off outdoors like my Dad and I figured would be fine. The press is amazingly efficient, and when we weren't even half done, we had agreed that next year we have to have a family pressing out at the farm. The mess was actually minimal compared to what I thought, we hauled most of the expired, squeeze-dried fruit to my compost bin and I saved one 8 quart bucketful to make pectin with. I am letting it drip now as I write, and will pick up some rubbing alcohol later this morning to see if it gels. To test if the pectin is developed, you mix 1 t. of pectin with 2 t. rubbing alcohol. If it forms a solid mass that can be lifted up with a fork, the pectin has enough gelling power.
I made my pectin according to Linda Ziedrich and several other concurring sources online. For every pound of fruit in a large, covered pot, add two cups of water and bring to a boil. Cover and simmer for 20 minutes, then drain through a jelly bag for at least 4 hours. Return the juice to the pot, and boil it rapidly to reduce by half. It can be stored in the freezer, or water bath processed for 10 minutes for shelf stability.

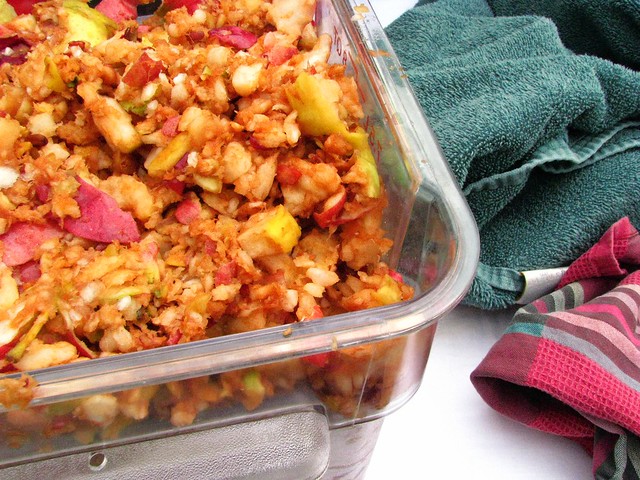
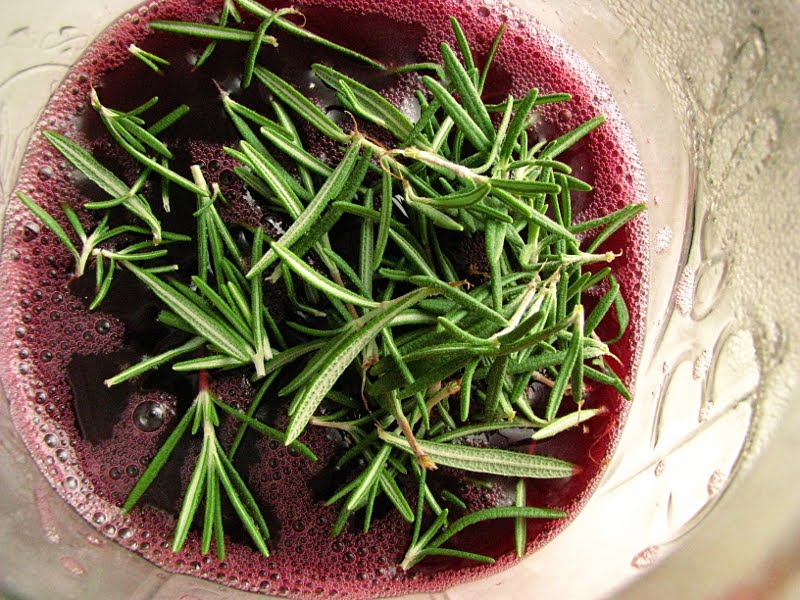
pulp, for pectin.
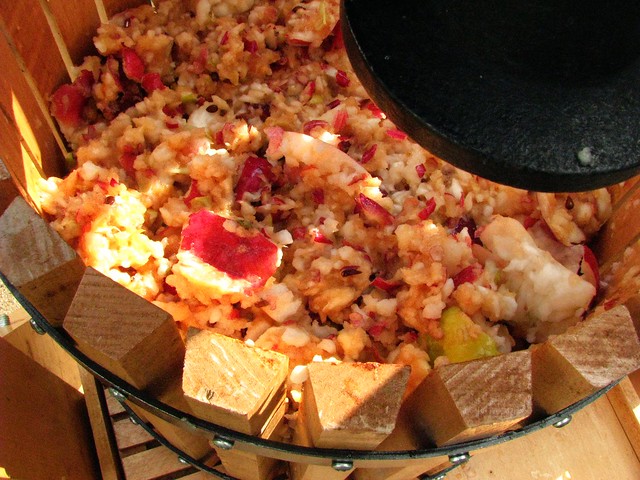
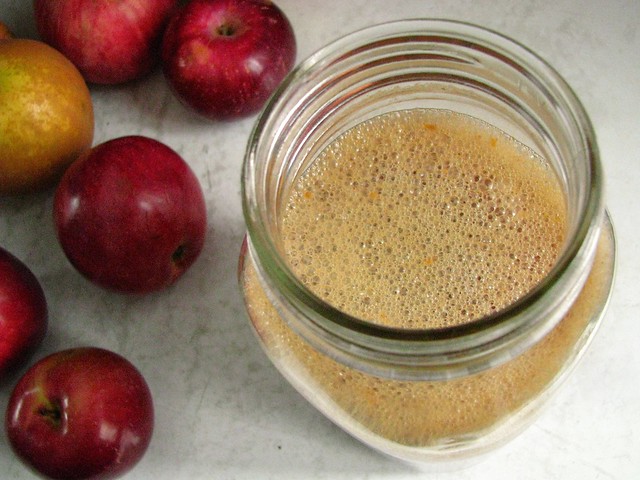
ready to press.
I also threw together an apple crisp this morning. I seem to never follow the same method twice when making fruit crisps this year. I didn't skin my beautiful apples, I added perhaps too much ground ginger, a tablespoon each of flour and brown sugar, and topped it off with a crisp topping which I had leftover in the freezer. I like a lot of different crumble toppings, but this one was fairly exceptional. It could be because it has a fair amount of butter in it, but I mix it up in a snap, adding everything including the yogurt to the food processor. Unlike Heidi, I don't even melt the butter, I just pulse it with the flour a few times before adding the oats. I also like to add about 1/2 c. of nuts - walnuts are a favorite of mine with apples. I usually mix up a double batch, and eyeball how much I want to include on top of a makeshift crisp. It does also freeze well.
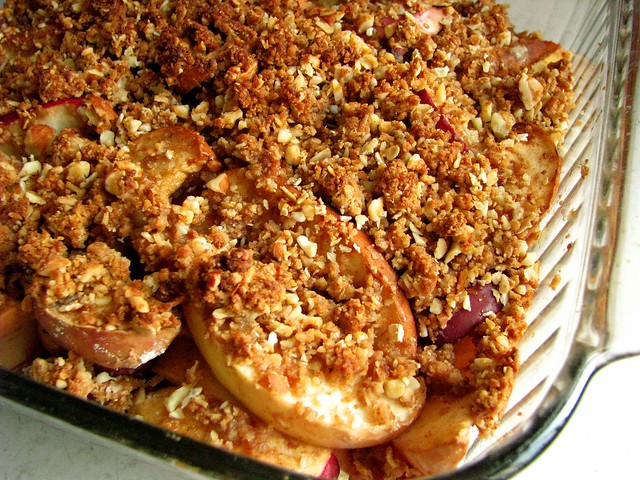
- 3/4 cup white whole wheat flour, AP flour, or whole wheat flour
- 1/3 c. butter, cut into tablespoons
- 3/4 c. rolled oats
- up to 1/2 c. brown sugar or cane sugar
- 1/2 c. walnuts, pecans, hazelnuts, or other (optional)
- 1/2 t. or more cinnamon
- pinch of salt
- 1/3 c. plain yogurt
In the bowl of a food processor, combine flour and butter. Pulse several times until the butter is the size of tiny peas. Add the rest of the ingredients except the yogurt and pulse to combine into a uniform texture. Add yogurt, pulse once or twice to incorporate. Use right away, store in the fridge for a day, or freeze for impulse baking.
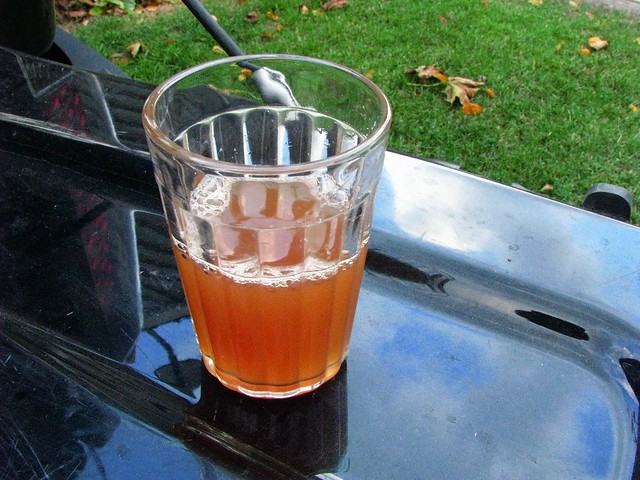
As soon as the amber colored cider made it's way down to the waiting bucket, we all stood mesmerized, as if we had no idea that apples under pressure would indeed give up their juice. It's silly really, all of us so excited that we took little cups and stood in the crisp air drinking the best cider we've ever tasted - probably the best since we went through so much work to get it. It was so sweet, thick, tart and refreshing. We got about 4 precious gallons of cider all accounting, and we split it up pretty evenly. We let it sit to rest for several hours, and then I ladled it into jugs and canning jars - setting some aside a little more than a half gallon right away to try and open ferment for eventual vinegar. We didn't filter it into oblivion like we had seen recommended - all of us agreed that having a little sediment was perfectly fine with us.
I have had my issues with vinegar. Making "mock" flavored vinegars (out of Bragg's cider vinegar) this summer made me feel a little better, but like I've said before I felt like I was cheating. This easiest thing seems to be a great challenge for me, and I suspected that I could easily waste my good-as-gold cider trying to ferment and then vinegarize it. Fortunately, yesterday morning, I saw the bubbles of fermentation first appear. This morning, the foam is about a half inch thick, and I suspect in a couple of days I'll be able to strain it into clean jars and inoculate it with mother. Meanwhile, my other quarts of cider are in the fridge waiting to see if their fate will also be vinegar. It is my sincere hope that I can get at least a gallon of homemade cider vinegar, and I don't want to jinx myself, but it looks as if I may be on my way toward that goal.
Every time we visit, I remember how insanely lucky I am to have such amazing Parents. They get every bit as excited as I do for good food and hard work, experimenting and being together with family. As I helped my Dad hoist that press back up onto his truck (and I didn't think that I'd be able to lift it, maybe I need to start a weigh lifting regimen...), I knew exactly where I get all my quirky obsessions and experiments from. The press traveled 500 miles to my house and another 180 back to the Farm, where it will over-winter in their ample garage or outbuilding until next apple season when we will meet there and be as excited again to see such an amazingly simple thing as cider drip casually from an iron and wooden press directly into our waiting cups. In those moments of simple pleasures, I feel so full up with appreciation for life and the sweet tart of it that I can not really express it. What an amazing way to enter the Thanksgiving season.