
I was kind of glad that the Sourdough Surprises item-of-the-month was crackers. I think I've consistently made sourdough crackers ever since I started my sourdough starter, in September of 2010. In those early days of sourdough experimentation, I was obsessed with finding ways to use up my discard starter - probably because I had so much of it in the beginning. It took me some time to be more efficient with my feedings and management of my fledgling starter, and pancakes and crackers became a staple part of my kitchen life.
The recipe I first found for sourdough crackers is still the one I use most frequently. I've gotten so good at making them that I rarely even measure, I just mix them up according to feel - and they always turn out good. I always let the dough rest for at least 7 hours (making them a fully cultured snack with reduced phytic acid in the grain), but usually it ends up being a whole 24 hours. On occasion, I've let the dough sit in the fridge for a couple of days before getting around to rolling them out, and that works too, though remember that you need to allow an hour or so for the dough to come back to room temperature before rolling it out. The longer resting times make for crackers with a little more tang, but that is fine with me.

My best advice making these is to invest in a silicone baking mat. I found mine for a well-spent $11 at a restaurant supply store, and I can roll the dough out directly on it without bothering with wrinkling parchment. I use this pastry roller, which was another rummaged gift of that bread genius, ex-boyfriend's mother. She really was an inspiration to me in the baking department, and I like having little remembrances of her in this tool I use so often.
I've made these crackers with all sorts of flours, but prefer them best with plain old whole wheat. I've also made them with both butter and coconut oil (and olive oil too, if memory serves), but I like coconut oil the best. When I have quite a lot of discard starter I'll make a double batch; I've found that for a single batch I can fit exactly half of the dough on the silicone baking mat, so double batches take me much longer to bake. I really need to invest in another baking mat to bake more efficiently. Meanwhile, I try to schedule my cracker baking when I have something else to go into the oven as well.

I've made these crackers with all sorts of flours, but prefer them best with plain old whole wheat. I've also made them with both butter and coconut oil (and olive oil too, if memory serves), but I like coconut oil the best. When I have quite a lot of discard starter I'll make a double batch; I've found that for a single batch I can fit exactly half of the dough on the silicone baking mat, so double batches take me much longer to bake. I really need to invest in another baking mat to bake more efficiently. Meanwhile, I try to schedule my cracker baking when I have something else to go into the oven as well.
Sourdough Crackers (Kitchen Stewardship via Sarah Wood)
- 1 c. discard sourdough starter (any hydration seems to work fine)
- 1/4 c. melted coconut oil (or butter, olive oil) (if the coconut oil is spreadable consistency, I sometimes don't even melt it)
- 1/2 t. kosher salt, plus more for top
- 1/2 - 1 c. whole wheat flour
- olive oil for brushing the tops
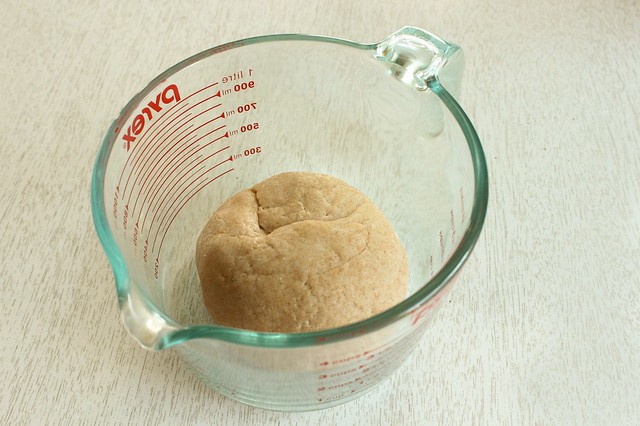
Combine starter with coconut oil and salt and stir well to combine. Begin to add whole wheat flour, starting with 1/2 c., and stir or use your hands to start kneading it in. Continue adding enough flour to create a sturdy dough that is smooth and not sticky, but don't add so much as to make it dry. Form the dough into a ball, place in a clean bowl, and cover well with cling wrap. Let stand at room temperature for at least 7 hours before rolling out into crackers, or storing in the fridge for up to 2 days.
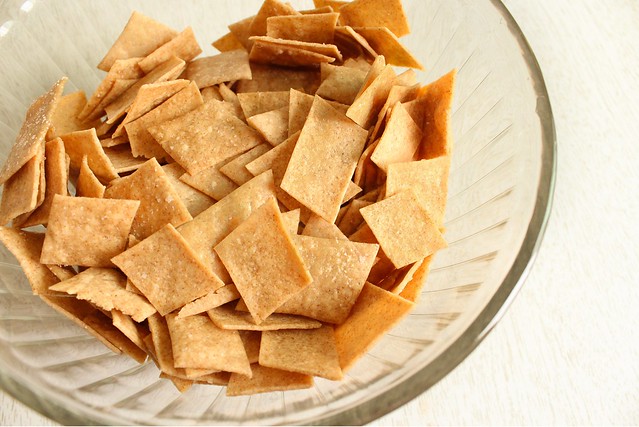
Preheat oven to 350. Divide the dough in 2 pieces. Working with the first piece, roll the dough as thin as you like, I like to make the amount of dough fit the entire sheet pan - which makes them very thin (1/16"). I like to roll on a silicone baking mat as I described above, but you can roll between two sheets of parchment paper. Use a pizza cutter to slice the crackers into squares or rectangles, and transfer the sheet to a baking pan. Using a pastry brush, brush the top of the cut crackers with olive oil and sprinkle with additional kosher salt. Bake for 20-30 minutes depending on the thickness of your crackers.
I have also tried adding a few spices to this dough, or just to the tops prior to baking... but really none of those experiments stand out. I just like these as plain crackers, to munch on their own or with thin slices of cheese. They also keep an amazingly long time - if they don't disappear first. I store them tightly sealed in quart size canning jars.
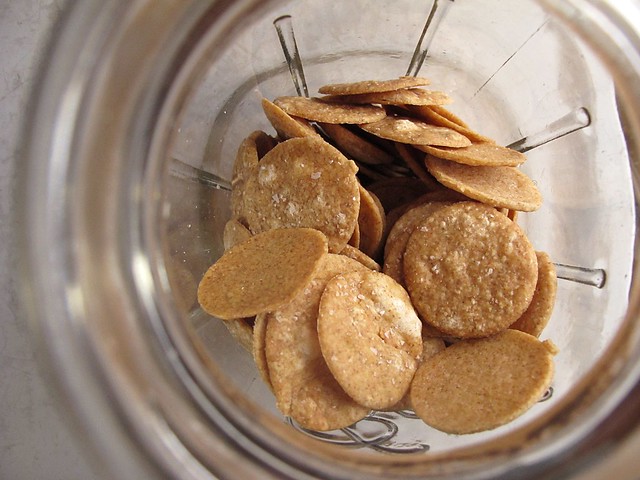
I have cut fancy shapes from them, but it takes a bit longer than just cutting squares or rectangles...
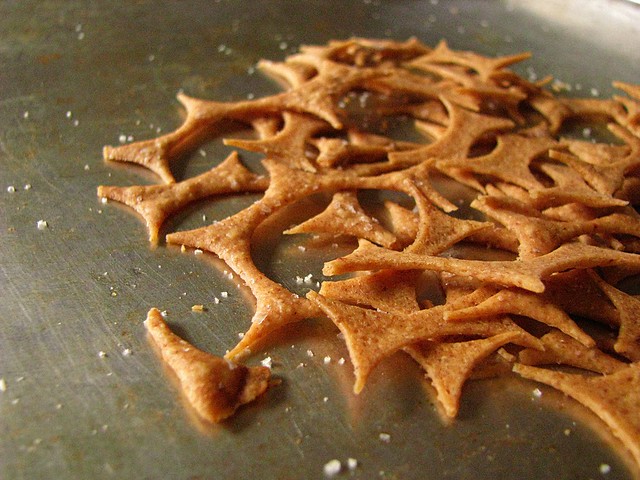
...but then I just baked the ends right next to the rounds so I didn't waste any dough (and didn't take too long transferring them to another pan to bake).
...but then I just baked the ends right next to the rounds so I didn't waste any dough (and didn't take too long transferring them to another pan to bake).
I'm really looking forward to seeing what other group bakers used for recipes! While I do truly love this recipe, I could stand to break out of my mold. But if I could ever recommend a single quick and reliable recipe to use up a cup of starter (and that is fully cultured to boot) this is definitely the one.


What a neat tool, that pastry roller. Your crackers look absolutely gorgeous!
ReplyDeleteWhat a wonderful post with great tips!! Your crackers look delicious! I think it's time for me to buy a silicone baking mat:) Lynn @ Turnips 2 Tangerines
ReplyDeleteI have made these with very dry pulp leftover from juicing (kale and carrot), also have used fresh and dried herbs. All were delicious, I think it's impossible to mess up this recipe. These crackers don't last at my house... they are sometimes gone before I even get them in the jar!
ReplyDeleteUsing up juice pulp almost makes me want a juicer... though as I think about it, I could probably make some vegetable juice in the Vitamix and strain it. Hmmm....
DeleteIt's a nice use for pulp. I think a dehydrated kale leaf or a crumbled kale chip would create a similar result. I'm not even sure the veggies have to be dry... that's just the way I've made them.
DeleteI love that pastry roller! I need one. I also need another silicone mat too. I do everything with that mat. It's ridiculous that I only have one.
ReplyDeleteLovely! They look so crisp and snackable. Thanks for all the tips to make things easier.
ReplyDeleteThe crackers look awesome! I love how thin and crispy they look! Great idea about letting them sit, too. I was in a hurry and baked mine right away, and while good I wish I could have let them sit.
ReplyDeleteSourdough crackers fresh from the oven sound wonderful--but what I really want is one of those rollers! It just looks like a perfect tool. :)
ReplyDeleteThey look fantastic - love the shot of them on the tray. I could hoover them up!
ReplyDeleteWhat a great way to use your discard - I always mean to remember to make crackers with my discard, but for some reason, I just forget! I love the last photo, too, how you baked up the ends from cutting the rounds. Crispy goodness! I made my crackers this month with coconut oil, too, and I definitely think that'll be my new go-to - yum! Great job.
ReplyDeleteThey look delicious :-) Nice Job!
ReplyDeleteYour crackers look great! I love the idea of just baking the scraps. I've been just breaking mine up after baking or scoring them into squares. I like the idea of shapes with no waste.
ReplyDeleteMmm, they look amazing! I also love the little bits and pieces that you had left, I can totally see myself munching on those!
ReplyDeleteI made these over the weekend. My dough ended up sitting out for about 24 hours which made them pretty sour, and I added a seed mixture to the top of them. They are mighty good with a dollop of cream cheese!
ReplyDelete